Installing a new tap can breathe fresh life into your kitchen or bathroom. While it may seem like a challenging task, with the right tools and a step-by-step approach, you can tackle this project yourself. Here’s how to make it happen smoothly.
Gather the Necessary Tools
Before diving into the installation process, it’s wise to gather all the tools and materials you will need. A basin wrench, adjustable wrench, screwdriver, plumber’s tape, and a bucket are essential items.
You might also require a new tap, of course, along with any accompanying accessories. Having everything at hand helps the process go more smoothly, preventing unnecessary trips back and forth.
Turn Off the Water Supply
The first step in any plumbing project is to turn off the water supply to prevent any unexpected surprises. Typically, you can find the shut-off valves under the sink.
Turn the knobs clockwise until they stop. If your sink doesn’t have individual shut-off valves, you may need to turn off the main water supply to your home. Don’t forget to drain any remaining water in the pipes by turning on the tap.
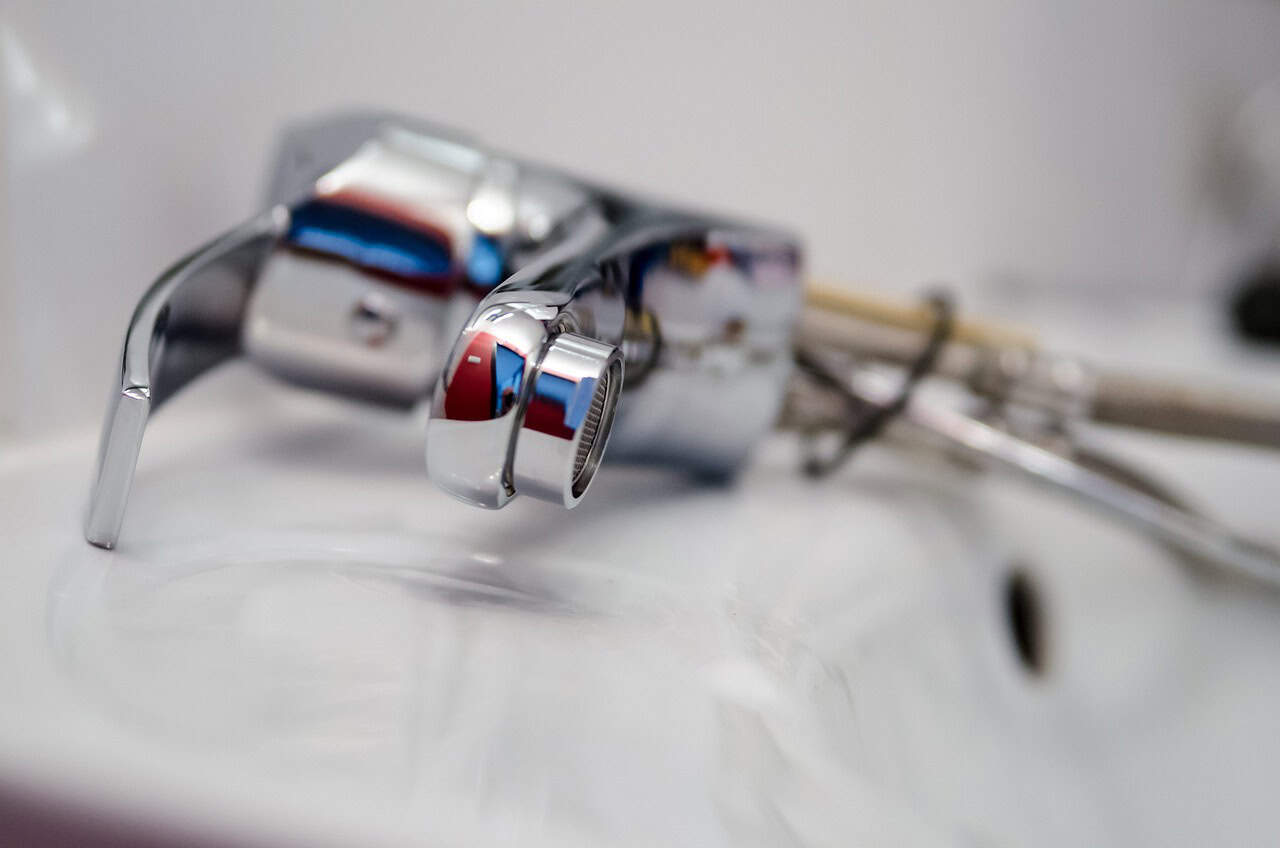
Remove the Old Tap
Now that the water is off, it’s time to remove the old tap. Start by placing a bucket underneath the sink to catch any drips. Using a wrench, unscrew the nuts that hold the tap in place.
Some taps may have a bracket or clips that you will also need to remove. Once everything is detached, gently lift the old tap out. Be careful not to damage the sink in the process.
Clean the Area
With the old tap removed, take a moment to clean the sink surface where the new tap will sit. Use a sponge and some mild detergent to scrub away any residue or grime.
This step is often overlooked but is necessary for creating a good seal and ensuring the new tap sits securely.
Install the New Tap
Now comes the exciting part—installing the new tap! Begin by placing the new tap into the mounting holes. If your new tap comes with a gasket or O-ring, make sure it is in place to prevent leaks.
Secure the tap with the nuts provided. Don’t overtighten, as this can cause damage to the sink or tap. A snug fit is all you need.
Connect the Water Supply Lines
Next, it’s time to reconnect the water supply lines. Attach the hot and cold water supply lines to their corresponding connections on the tap.
Make sure to use plumber’s tape on the threads to create a watertight seal. Tighten these connections with an adjustable wrench, but again, avoid overtightening.
Check for Leaks
Before you turn the water back on, it’s a good practice to check for leaks. With everything connected, double-check that the nuts and connections are snug.
Then, turn the water supply back on slowly. Check underneath the sink for any leaks as the water starts flowing. If you notice any drips, turn the water off and tighten the connections as needed.
Test the Tap
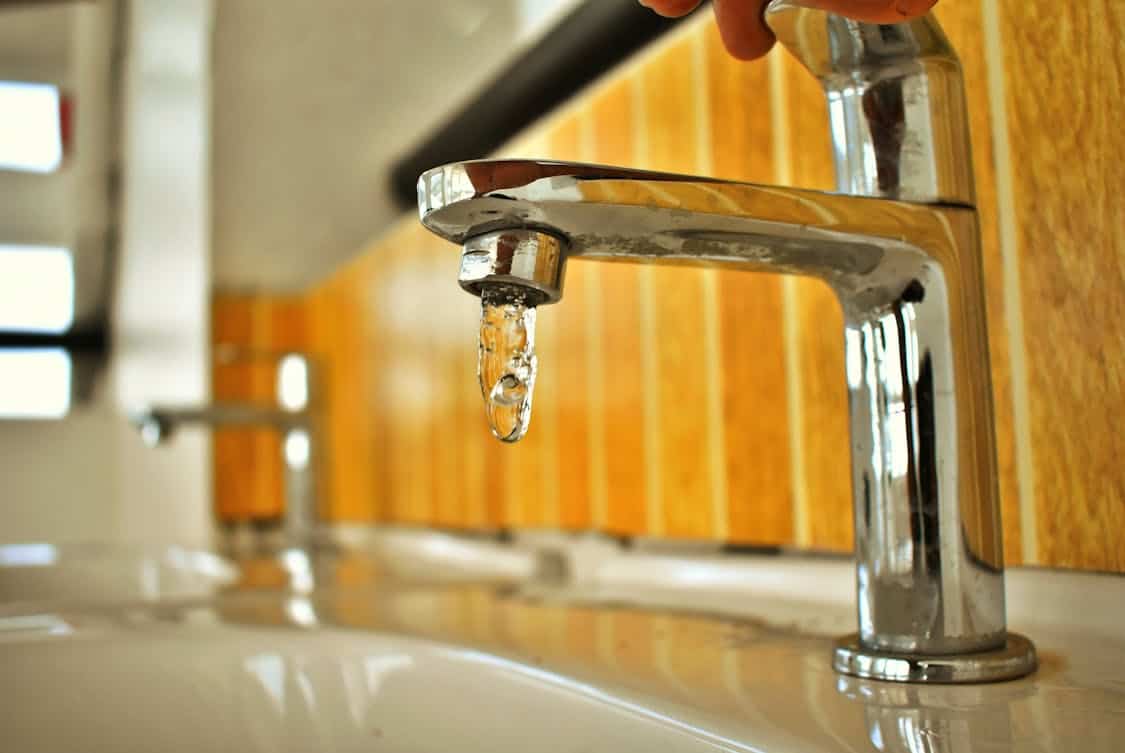
With no leaks detected, it’s time to test your new tap! Turn it on and let the water run for a moment. This will help clear out any air pockets and ensure proper flow.
Check both the hot and cold settings to verify that everything is functioning correctly. If everything works as it should, you’ve successfully installed your new tap.
Finishing Touches
After confirming that everything is in working order, it’s time to tidy up. Make sure to dispose of the old tap and any packaging from the new one.
Organize your tools and clean the area around the sink. A little cleanup goes a long way in making the space look neat and inviting.
Troubleshooting Common Issues
Even experienced DIYers can run into a few bumps in the road. If you encounter low water pressure, it might be due to an airlock or blockage.
Try running the tap for a few minutes to see if that resolves the issue. In case the tap drips, it could be a sign that the connections were not tight enough. Recheck your work and tighten any loose fittings.
Special Considerations for Different Types of Taps
There are various types of taps on the market—single-handle, dual-handle, and pull-down faucets, to name a few. Each type may have its unique installation nuances.
Single-handle taps typically require less space and are easier to maneuver, while dual-handle taps may feature separate connections for hot and cold water.
Always consult the manufacturer’s instructions that come with your new tap for specific installation guidance.
Keeping Your Tap in Good Condition
After your installation, there are a few maintenance tips to keep your tap functioning well. Regularly clean the faucet to avoid mineral buildup, especially in hard water areas.
Occasionally check for leaks and ensure the connection remains tight. If you notice a decrease in water flow, it might be time to check the aerator for clogs.
The Benefits of a New Tap
You might wonder why you should bother installing a new tap in the first place. Beyond visual appeal, a new tap can enhance water efficiency and improve overall functionality.
Modern taps often come with features such as pull-down sprayers and touchless technology, making daily tasks easier. Investing in a quality fixture can upgrade your space significantly.
When to Call in a Professional
If at any point you feel unsure about the process, it’s perfectly acceptable to call in a professional plumber. While many homeowners tackle DIY projects, plumbing can sometimes be tricky.
If you run into unexpected complications, like corroded pipes or complex configurations, bringing in an expert can save time and frustration. Castle Hill specialists for installations and fixes can provide the expertise you need for a seamless installation.